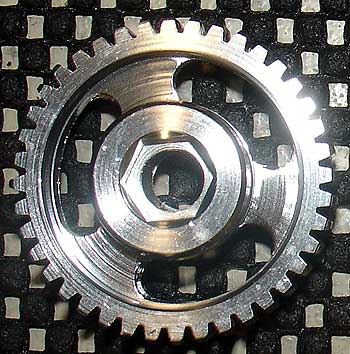
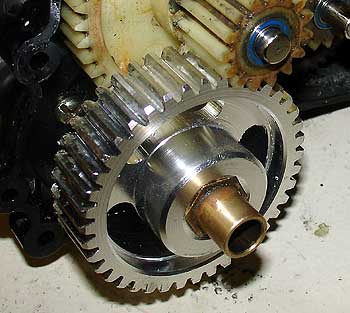
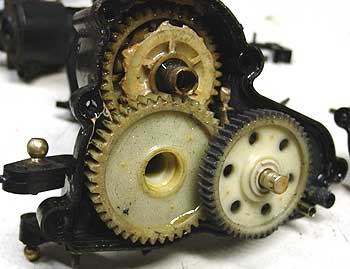
BEFORE...yuk!
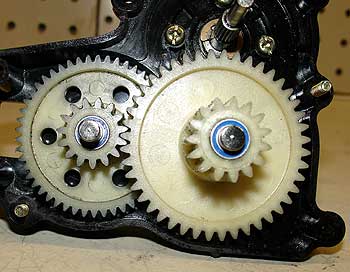
 AFTER...oooh!
|
SETTING
UP THE AXLES
Before getting too far along, we thought it would be best to get the
axles setup and ready to rock (sorry for the pun...it was too hard to
resist). That means tearing down the axles, cleaning them, installing
bearings, locking the differentials, regreasing and reasselbing them.
CLEANING & AXLE BEARING UPGRADE
As we purchased a used truck, the axles were used and we wanted to give
them a good tear down, inspection and cleaning before we did anything
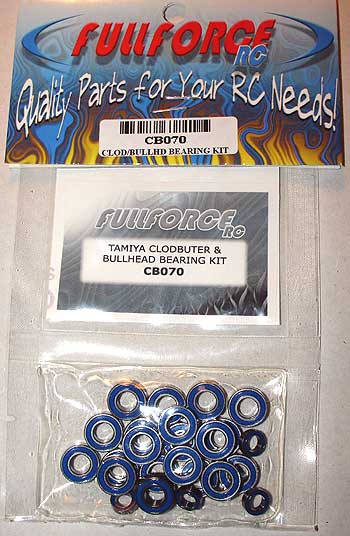
else. We took them apart, cleaned out all the old grease (see picture
to the left...YUK!) and installed brand new, rubber sealed bearings
from FullForce
RC (part number CB070). They are the pretty blue sealed ones in
the "AFTER" picture to the left.
FFRC offers
a complete bearing set for the Clod which was a few more bearings than
we actually needed however for a few extra bucks, it is always nice
to have extra bearings on the shelf for other projects (many of the
Clod bearings are the same size as T-Maxx bearings). The bearings are
a much needed upgrade as the stock axles contain bushings. After the
upgrade, the axles spun as smooth as silk. The reduced resistance gains
by the bearing upgrade means more run time with our rubble traversing
beast!
Before reapplying grease and reassembling the axles, you will want to
read and perform the steps described in the next section, LOCK THE AXLES.
LOCK THE DIFFERENTIALS
To gain maximum traction, we wanted to lock the differentials,
front and rear. This will keep all four wheels spinning no matter what
and will certainly add to our trucks crawling ability.
Having locked differentials will reduce the turning ability of the truck
and if you choose to lock both the front and rear diff's, you should
add four wheel steering.
You can also choose to lock the rear diff only and see how that works
for you. By only locking the rear axle, you can avoid doing the rear
steering modification however in most cases, a 4-wheel steering, front
and rear locked differential setup will give you max crawling ability.
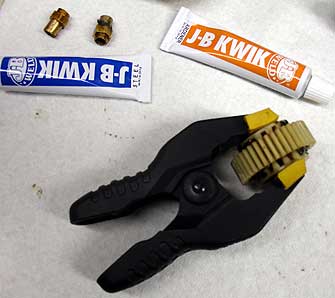
Instead of reinventing the wheel and writing up the diff locking procedure,
we will give you a link to an excellent writeup by a BYT Forum member:
Click
here to check it out! Once you have completed the locking procedure,
make sure the gears are lubed and reassemble. Thanks to Unruley
of the BYT Forum for his great writeup on this procedure.
Click here to check out STAGE 3 of Project Rock Ripper....Wheels and Tires.
|


